American Thanksgiving is less than two weeks away, so we thought we’d share Henry’s turkey recipe with all our American readers (of course, this recipe is good for all other readers as well – in fact, Henry encourages you all to make turkey all the time [Mariam: Henry is crazy, as you can plainly see 😛 ] [Henry: Crazy awesome, you mean! 😀 ]).


Step 1: The Brine
Something that a lot of family and friends never seem to realise is the importance of brining. For the uninitiated, brine is just another word for “heavily salted water”. The beauty of it is that when you soak meat in brine for a good long time, the meat becomes tender and the salt brings out even more of the meat’s natural flavour. Unfortunately, fast brining (i.e., 90 minutes to a couple of hours, as indicated in some recipes) will never be as good as overnight brining. That’s why we’re putting this post up now – if you’re going to follow this recipe, you need to plan out brine time!
Henry: Of course, brine isn’t just salt in water – at least, not the good kind. Here’s what goes into mine (I usually make a 15 pound turkey – if yours is smaller, adjust the ingredients downwards accordingly):
- 10 ounces soy sauce (yes, soy sauce – don’t knock it till you try it, folks!)
- 2 gallons of cold water
- 1/4 cup of real maple syrup (yes, maple syrup – again, don’t knock it till you try it, folks!)
- 2 tablespoons dried sage
- 1 tablespoon dried thyme
- 4 bay leaves
- pepper to taste
- garlic powder to taste (usually a LOT)
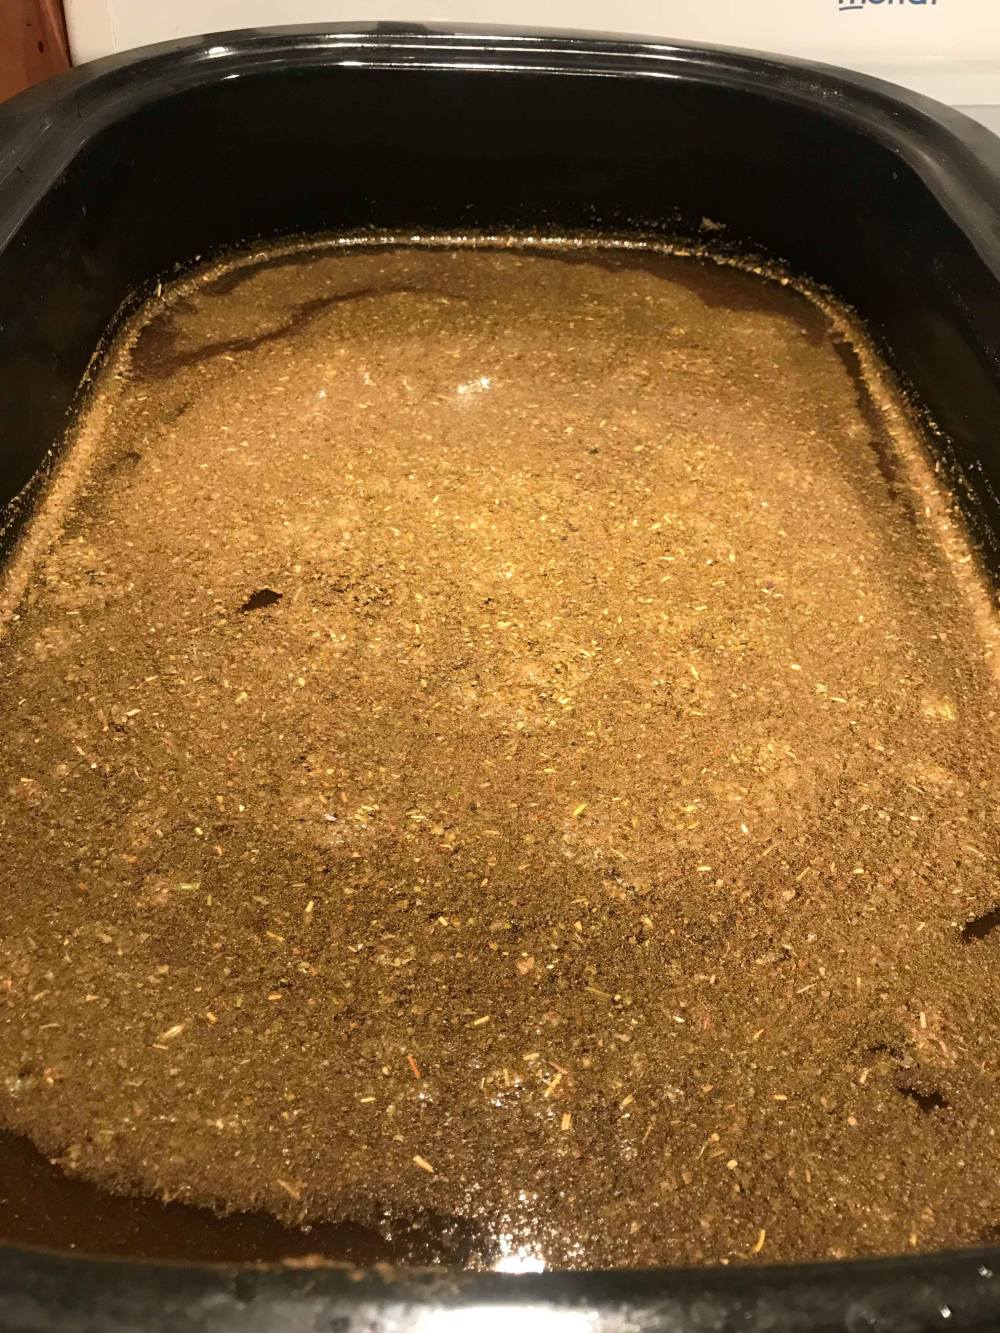
To prep it, put all the ingredients together in a big stock pot. And then, if you have one, use a hand mixer to really properly mix it all together. You do not want lumps anywhere for your brine. Also – don’t boil this stuff thinking that it’ll help mix and dissolve everything. A mixer will do the trick, or even simple stirring (if you have the patience to do it for five minutes). At any rate, boiling your brine mixture simply means that you’ll have to cool it down before you use it. That will seriously add to your prep time for no good reason.
Step 2: The Great Brining
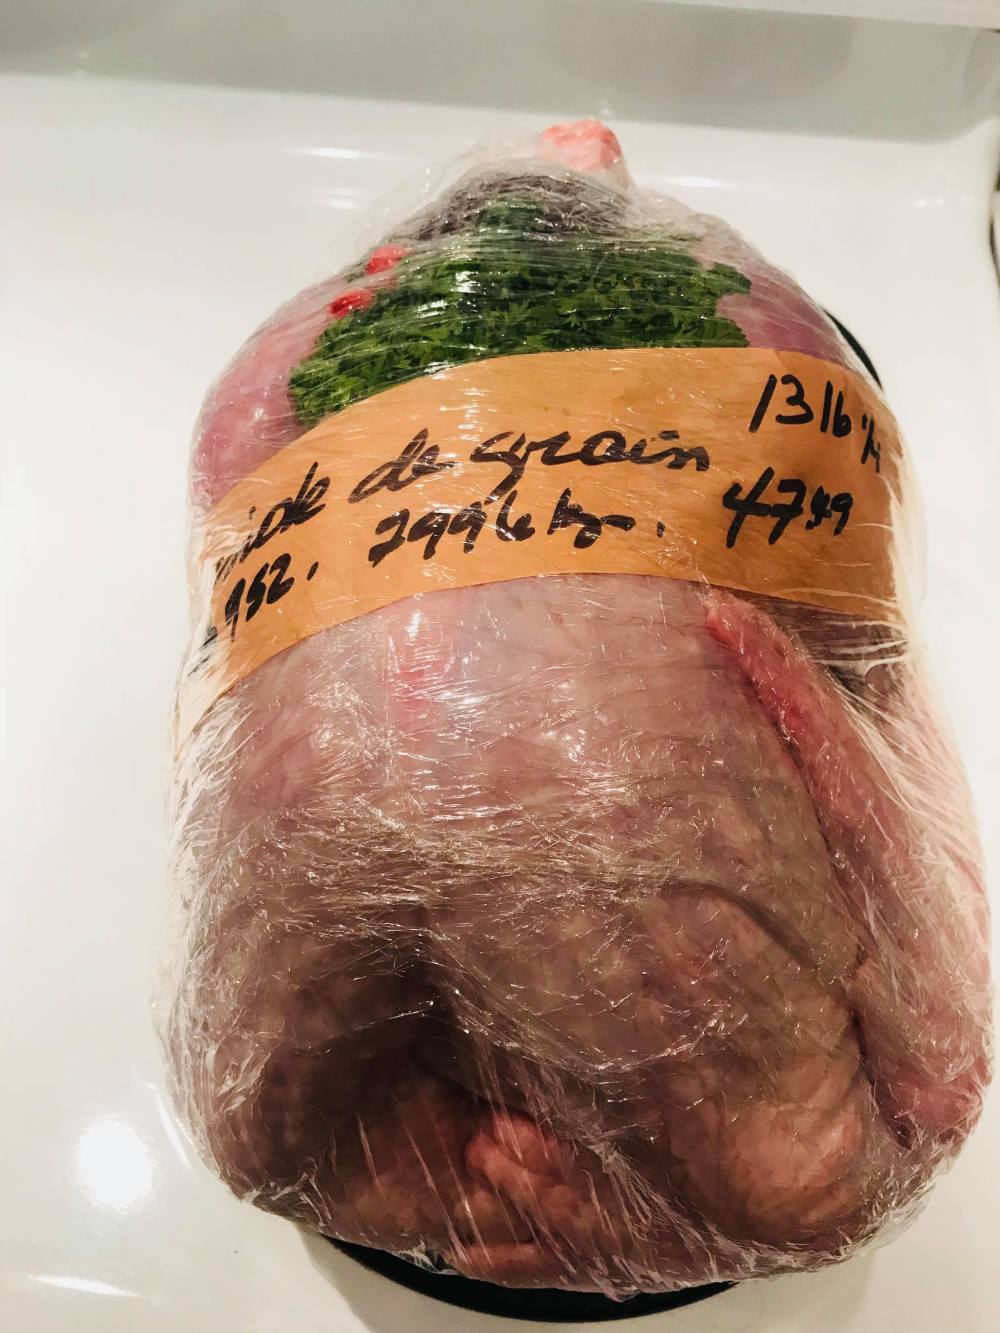
Once you have your brine, it’s time to put your turkey in it. Open up your wrapped turkey, take out any giblets or plastic packaging that’s in the turkey’s main cavity, rinse the whole thing in lukewarm water, and put it in (and if you’re lucky enough to find a good butcher, s/he’ll have done most of the cleaning already. I get my turkeys at the Atwater Market).
Try to have make sure that the turkey is completely submerged in the brine. When done, put a lid over the turkey and then place it in the fridge. Then allow at least 8 hours of brining in the fridge. If you’re like me though, you’ll want to leave it in there for 12 to 15 hours. A long wait, yes, but it’ll be worth it!
Step 3: Prepping the Stuffing
First, the ingredients in my stuffing:
- Quarter stick of butter
- 6 spicy Italian sausages
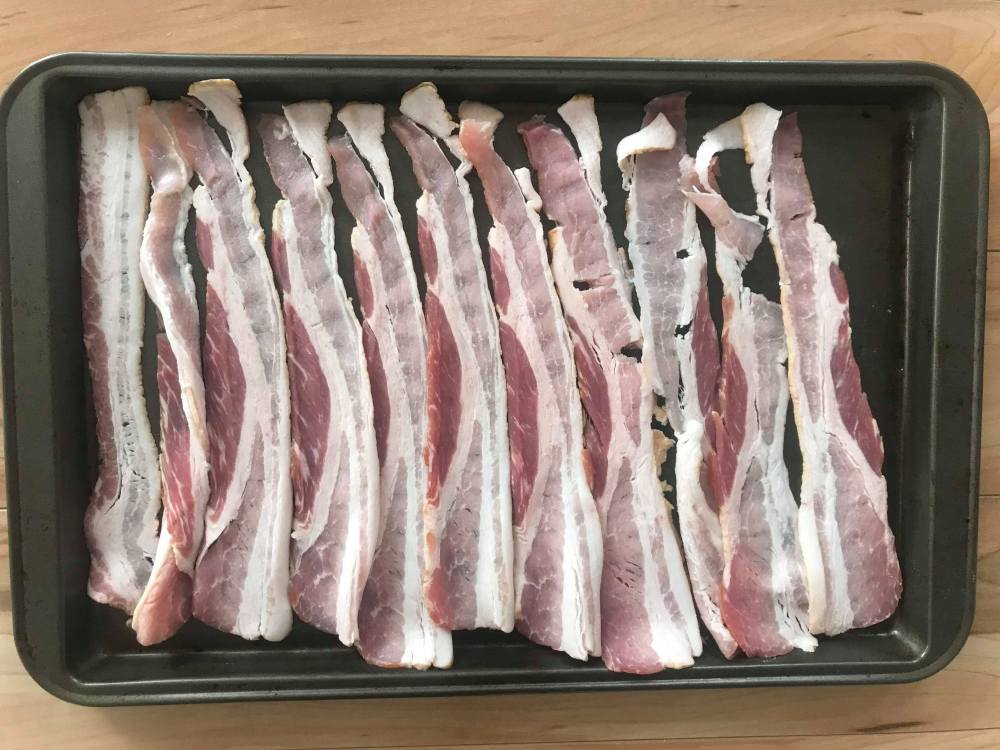
- 1 lb bacon (preferably, the high-quality humanely-raised kind – seriously, it makes a difference)
- 2 small onions
- 4 cloves fresh garlic
- ~1/2 lb of garlic croutons
- 1/4 cup of bread crumbs
- 2 cups chicken broth
- 2 tablespoons of chili flakes
- salt and pepper to taste (I really don’t add much salt at all – the sausages, bacon, croutons and broth add plenty of saltiness already)
- 1 stalk of celery (optional)
Start by spreading the sausages and bacon on separate baking sheets. Then cook them using the oven at 350°F (175°C) (although, honestly, you can cook them in the microwave to save time – it just won’t taste as good). You’ll need to keep the sausages and bacon in the oven for at least 20 minutes; make sure that the sausages aren’t pink in the middle before you take them out. As for the bacon, you can take them out of the oven when it starts crisping.
As the meats are cooking, bring the chicken broth to a boil. Dice the onions and toss them in the boiling broth and bring the heat down to medium. Keep simmering the onions until they’re soft and tender (approximately 20 minutes). Remove the onions and broth from heat, put the onions in a bowl and set the broth aside for later.
Take the bacon and sausages out of the oven when they’re cooked. Let them cool for a few minutes and then cut them in tiny pieces (you don’t want to burn your fingers, after all!). Put it all in a big bowl.
Cut the butter into chunks. And if you’re adding the celery, cut that up too.
Put the onions in with the meat and mix well. Then fold in 1/2 of the butter and stir till it melts. Keep stirring and gradually put in the croutons, bread crumbs, chili flakes, and celery. As you’re adding these latter ingredients, put in several tablespoons of the broth you set aside earlier so that the crumbs and croutons cling to the meat and veggies, but do not put in so much that they get soggy!
Finally, add in the last of the butter and keep stirring that’s melted as well.
The stuffing is now done! Set it aside in the fridge till you’re ready to stuff the turkey.
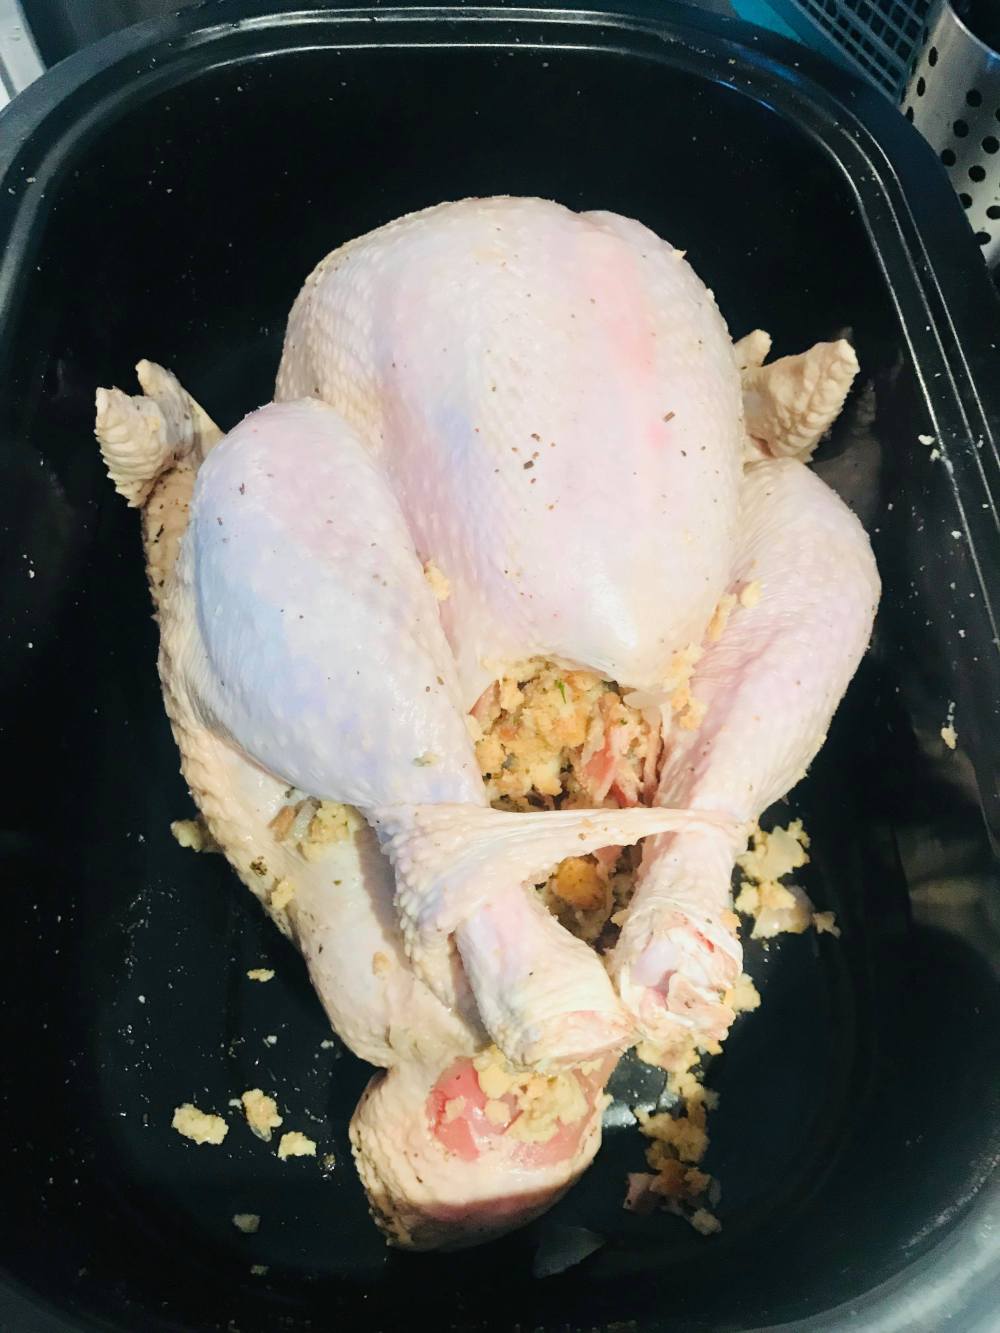
Step 4: Stuffing the Turkey
After your turkey has been brined for at least 12 hours, take it out of the fridge and remove it from the brine. Let all the brine drain from the turkey. Then, open up the bird’s cavity and jam in as much stuffing as will fit inside. Once you can’t fit in any more stuffing, use the flap of skin the butcher should have set aside below the drumsticks to bind in the legs.
When you’re done that, take another roughly 1/4 stick of butter, cut it into slices, and slide the butter slices between the skin and the white meat. This will further ensure tender, juicy meat when the turkey is done.
Step 5: Roasting It All
Preheat the oven to 350°F (175°C). Put the turkey in a big roasting pan; pour in enough of the set aside chicken broth to line the bottom of the pan. Cover the turkey with either foil or the pan’s lid, if you have one, and let it cook. Every 30 minutes, baste the turkey.

Keep on doing this till the turkey reaches a temperature of 180 °F (82°C) in the stuffing. When that happens, take off the foil or lid from the pan, set the oven to broil, and broil the turkey, breast-side up, for about 4 minutes. Remove the turkey from heat when the skin turns crispy.
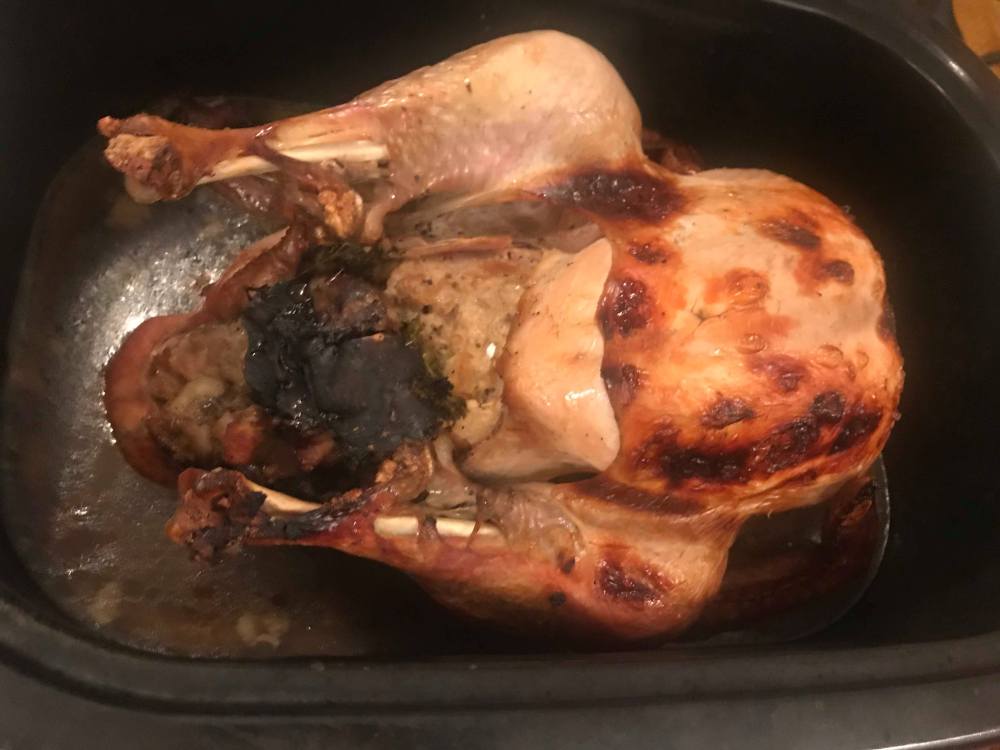
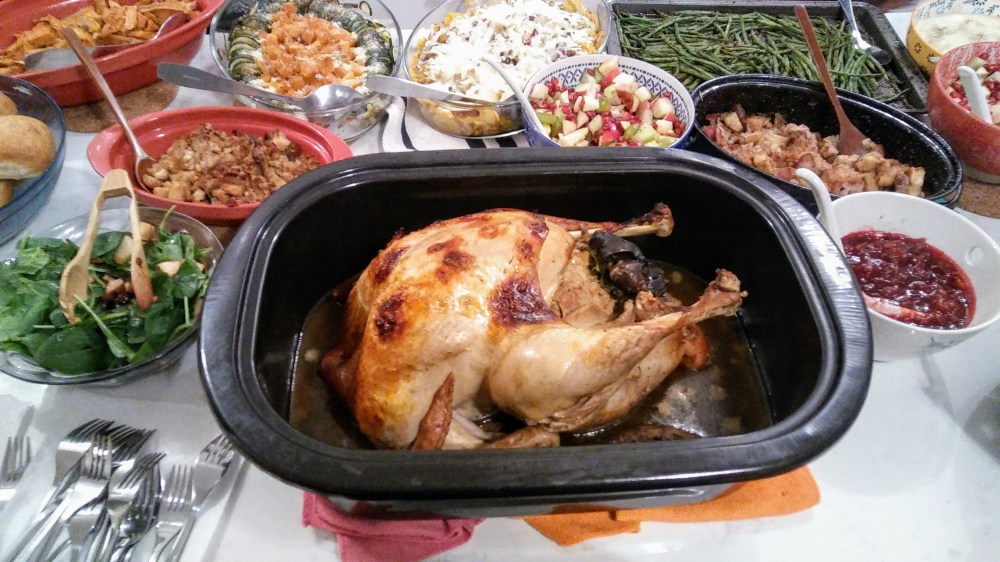
Step 6: ENJOY
And now, all that’s left is to scoop out the stuffing into a separate bowl, carve the turkey, and ENJOY!

We hope you all liked this recipe. Let us know if you liked our recipe in the comments. If you have any suggestions for making turkey even more awesome, we’d love to hear it it too 🙂 .
Happy Thanksgiving, dear American readers!